Blogger
Throughout the whole process of making our music video, planning and evaluating it we have used blogger.com as a collaborative e-portfolio. For example this has helped us document certain parts of our construction such as our storyboarding animatic, and our call sheets and risk assessments when booking out camera equipment.
This is the Blog archive in which we
were able to organize are posts and
were able to organize are posts and
control who was posting what by
making them clearly marked with
our initials.
This shows how we

This shows how we
were able to comment
on eachothers
work and add in
our own
opinions.


- This is an example of web 2.0. This is because it is a concept of is this new age of internet. It allows people to connect with eachother and communicate, and change what is actually on the website. This is unusual, because websites used to just be information shared that is provided by the owner of the website.
Planning
- In order to plan our pieces we used a storyboard. This took a lot of time and we tried to think really carefully about each shot.
- The storyboard could later be turned into an animatic as you can see here:
- http://www.youtube.com/watch?v=KwpEHR-yftk
- Furthermore in planning we also had to think about what was actually possible to shoot as oppose to what we would do if we could do anything at all with no limits.
- We created the animatic using Adobe Premiere Elements, this was useful because it meant that when it came to our construction of the music video we could match our video to our animatic.
- When shooting, we used DV cameras. The main challenge that we overcame was lighting. Because we chose to shoot at night we found it extremely hard to shoot with the DV cameras. Through using lights on location and studio lights for close up shots we managed to overcome this problem.
- Using Adobe premiere Elements 3.0 we were able to create some techniques in editing our video.
- The first technique, has been said about in Part One of the evaluation and thats the Fade. This has helped our video look more authentic.
As you can see from the clip at the end fo the vide, fades helped our video dramtically in shot changes. its gave us a smooth changeover of images and made our video more slick and easy to watch. - Secondly, we used the image control toolbar to adjust the colour and hue to the footage.
FOR EXAMPLE

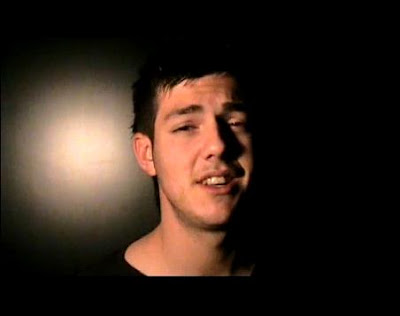
- Thirdly, we used a ghosting effect on certain pieces of footage, for example in this shot of mitch:

- This effect was created through changing the opacity of all three clips and laying them on top of eachother. This again can connote the waiting up late at night, referring back to the link between the visuals and the lyrics through the night lights, showing two of our locations.
Digi-pack & Advertisement
Adobe Photoshop
- In Adobe photoshop we manipulated our oringal drawings that I created, by cutting out the colour in them and replacing the coulour with that from photoshop...
- To do this I used the magic wand tool to select colour
- Then I used a colour brush to fill the colour on the back ground layer.


MS Publisher
- In MS Publisher we then used a bookfold style page as the basis for our digpak and advertisement, as this allowed us to set out specific measurements that we got from magazines and previous digipaks. we set out the page at 14.5x12 for the digipak.


Audience Research
- After all this construction work, it was time to see if it all paid off and if we got the response that we wanted. We carried out some audience research and we thought we'd do it interactively by doing some short interviews. This worked very well and we came to the conclusion from our results that we got the exact right response we wanted.
- One thing we found that was missing from our music video was that we didn't have a girl. This was a factor that we definately took into account when creating our video but we just felt like the video was good without it, and we also felt as though it challenged some conventions you would expect to see in a boy band video.


No comments:
Post a Comment